Seeing a Seam in Your New Countertop? Here's Where It Goes and Why
You're standing in your kitchen looking at a template drawing spread across your future island, and the fabricator has drawn a line across the middle of it. That line is the seam, and your first instinct is to ask if it can move somewhere less visible, or disappear altogether. It's a fair question. Stone slabs come in fixed sizes, and once your countertop run is longer or wider than what one slab can cover, a seam becomes part of the plan whether you love the idea or not. What matters is understanding why the seam lands where it does, because that placement is rarely arbitrary. It's the result of engineering, slab geometry, and years of watching where seams hold up and where they eventually crack.
Quick Answer:
A stone seam gets placed based on structural support first and visual concealment second. Fabricators avoid inside corners, dishwasher openings, and any unsupported span, because those spots put stress directly on the joint. When the layout allows it, the seam is routed through the center of a sink cutout or aligned with a natural break in the stone's pattern, since both locations hide the line from normal viewing distance. A well-planned seam is measured against your cabinet layout and sink rough-in before a single cut is made, not decided in the field.
Why a Slab Has Limits in the First Place
Granite, quartz, marble, and quartzite all come from quarried blocks or manufactured slabs that top out around 9 to 10 feet in length and roughly 5 feet in width, though exact dimensions vary by material and supplier. A long kitchen run, an L-shaped counter, or a big island frequently exceeds those numbers once you add up linear feet along every wall and return. When your layout is bigger than the slab, you have two choices: waste a large portion of a second slab to squeeze out a shorter continuous piece, or accept a seam and use the material efficiently. Most homeowners are surprised to learn that a seam isn't a shortcut. In many cases it's the more sensible route, because it lets your fabricator pull the most attractive, best-matched sections from two slabs instead of stretching one slab thin and leaving visible offcuts unused elsewhere in the shop.
Stone also behaves differently than the cabinets underneath it. It has strong resistance to compression, meaning it holds up well to weight pressing straight down, but it has comparatively low tensile strength, meaning it resists bending or twisting forces poorly. A seam is the one place in your countertop where the stone isn't continuous. It's two pieces held together with adhesive, and that adhesive, no matter how good, never matches the strength of the surrounding stone. Any point where the countertop can flex, twist, or bear weight without support underneath becomes a place where the seam is at risk. That's the entire logic behind where a seam ends up, and it's worth understanding before you start pushing for a seam location based on appearance alone.
The Places a Seam Should Never Go
Inside corners
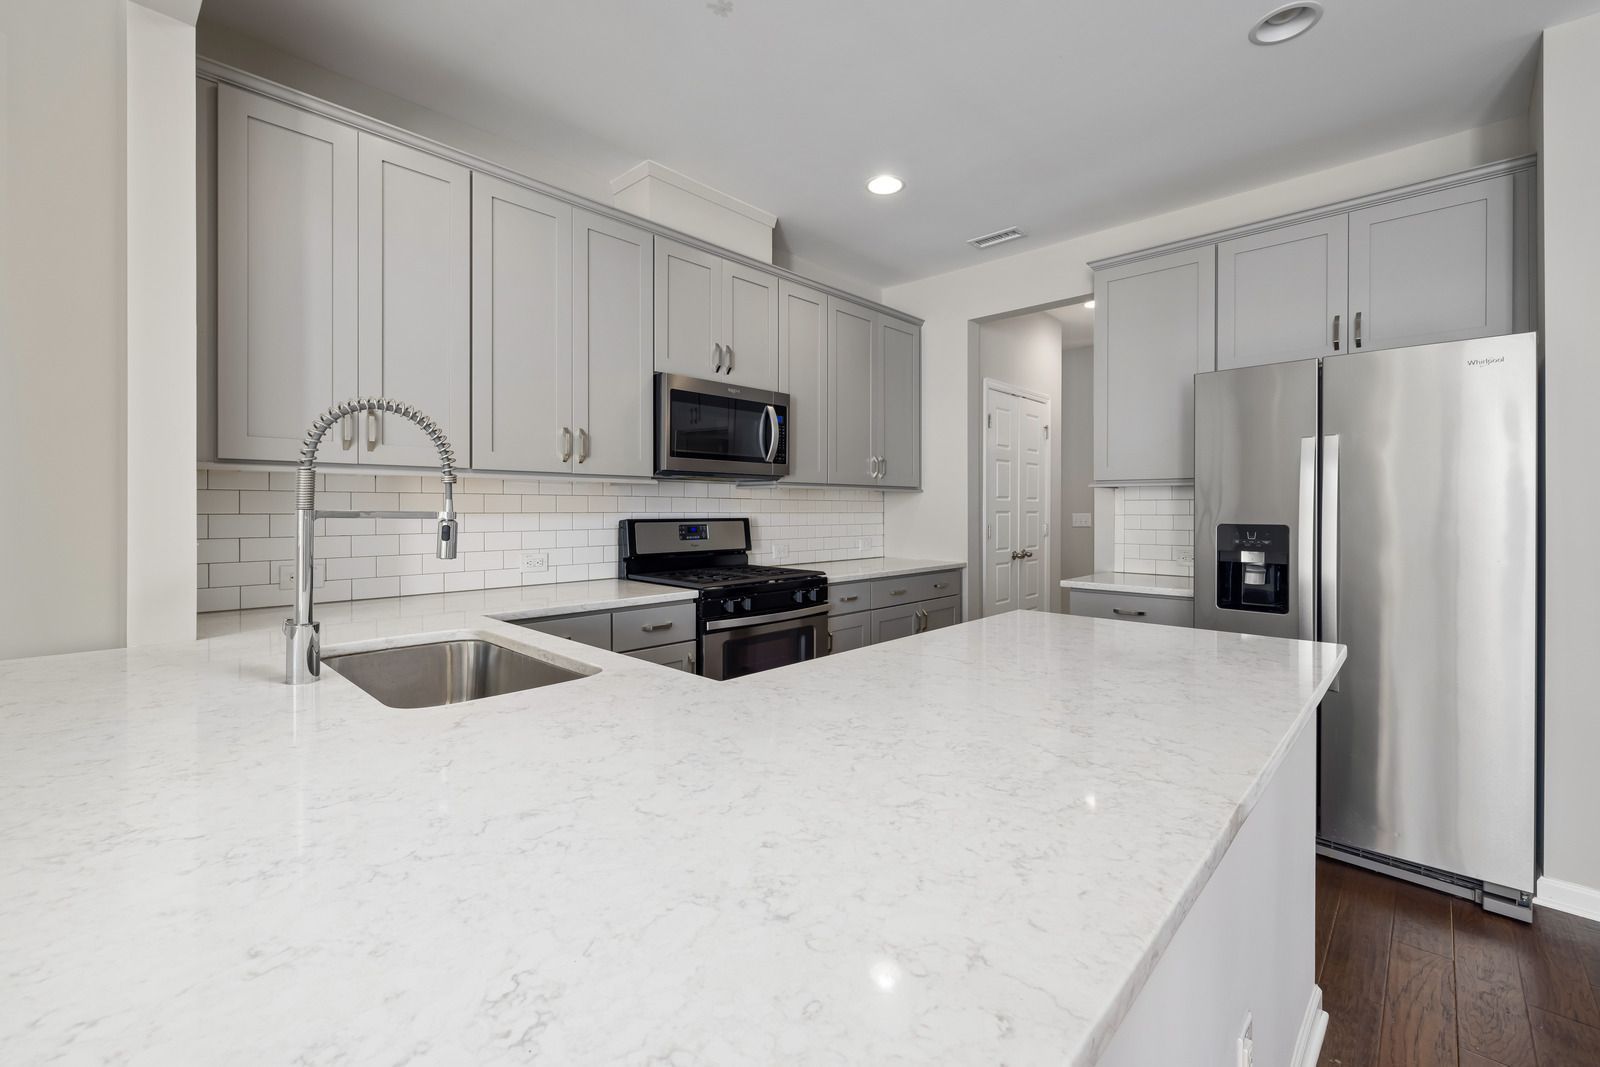
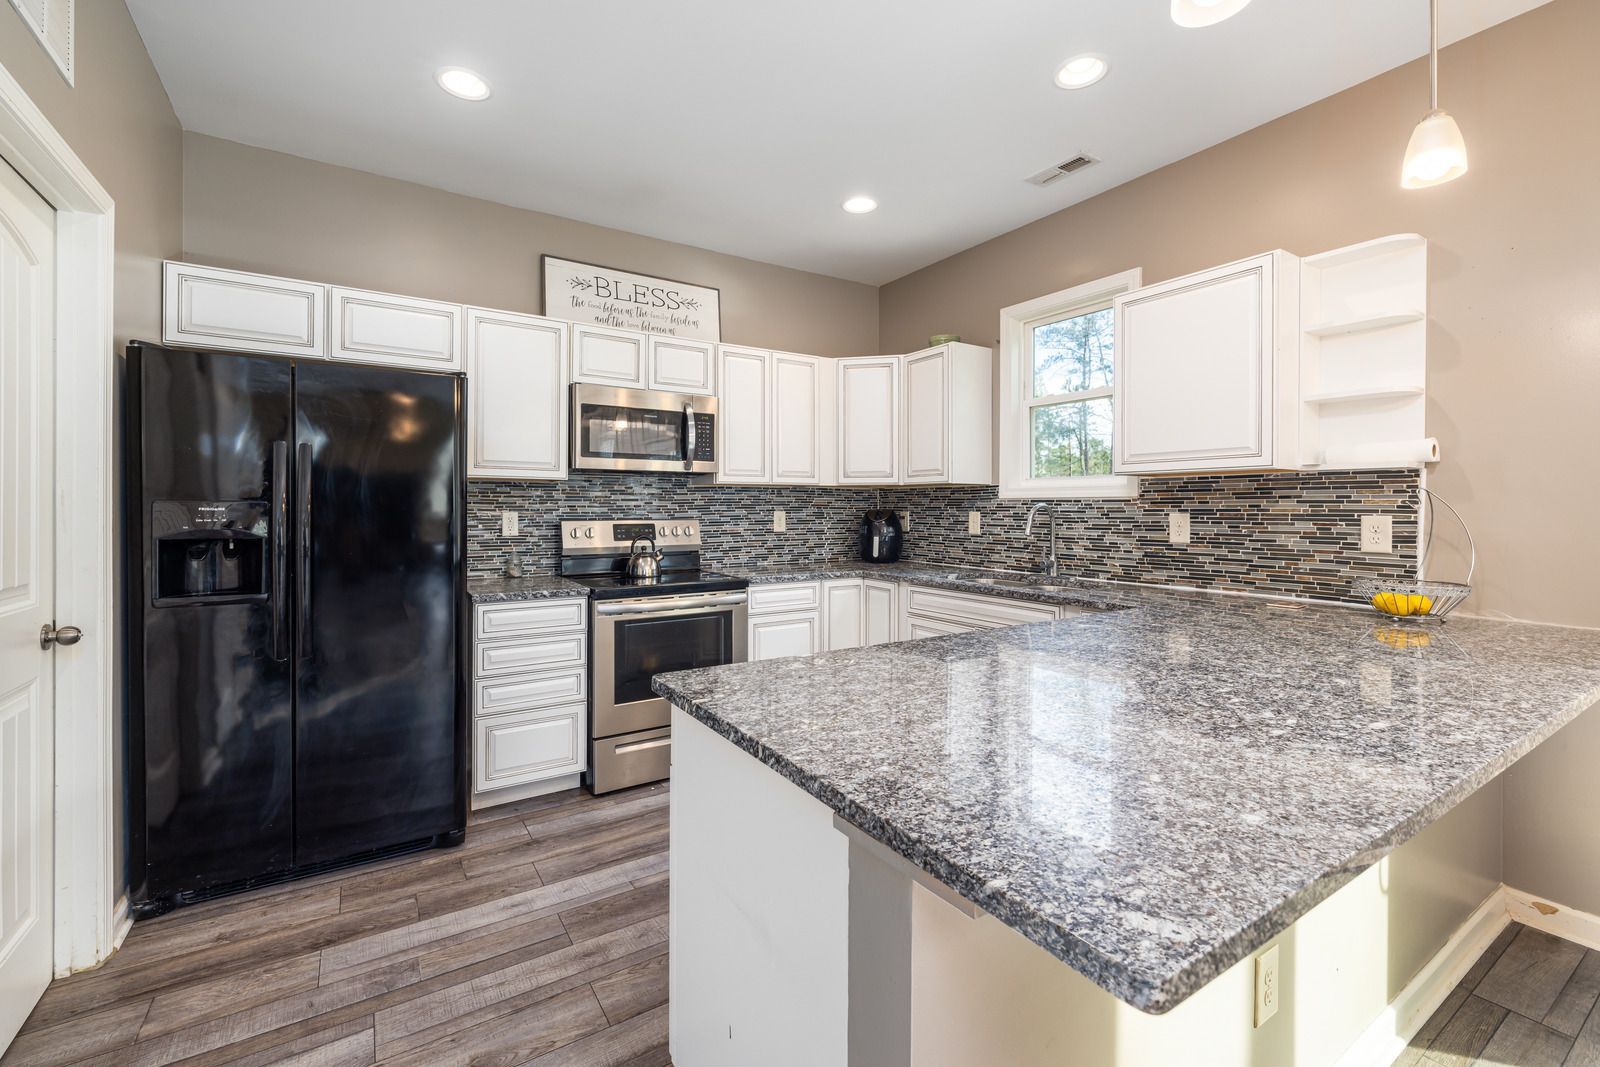
If your kitchen has an L-shaped or U-shaped counter, the inside corner where two runs meet is under more structural stress than almost anywhere else on the countertop. Corners concentrate load the way a notch concentrates stress in any rigid material. Someone leaning on the counter near that corner, a heavy mixer set down repeatedly in that spot, or simply the ongoing flex of the stone over time all funnel force toward that point. Placing the weakest part of your countertop, the seam, directly at the strongest concentration of stress is asking for a crack to eventually form and travel outward. A seam within six inches of an inside corner should be treated as a mistake. Good fabricators keep it well clear, often shifting it eight to twelve inches away or into an entirely different section of the run.
Dishwasher openings
Every time that dishwasher door drops open, the cabinet support underneath the countertop directly above it disappears for as long as the door stays down. If a seam sits over that opening, it's absorbing flex every time someone loads or unloads dishes, plus the vibration of the wash cycle itself. Over months and years, that repeated stress fatigues the adhesive bond. Fabricators route the seam to one side of the dishwasher, landing it over a section that still has a cabinet wall or support rail underneath.
Unsupported spans of any kind
This includes long island overhangs without corbels or brackets, open base cabinets with no center support, and any run where the stone spans more than about twelve to sixteen inches without something solid beneath it. If your design calls for a seam in one of these zones and it truly can't be avoided, your fabricator has other tools available, including routing channels into the underside of the stone and epoxying steel rod reinforcement across the span before the seam is ever cut. That's not a standard step for most kitchens, but it's available when the layout leaves no better option.
Where a Seam Actually Hides Well
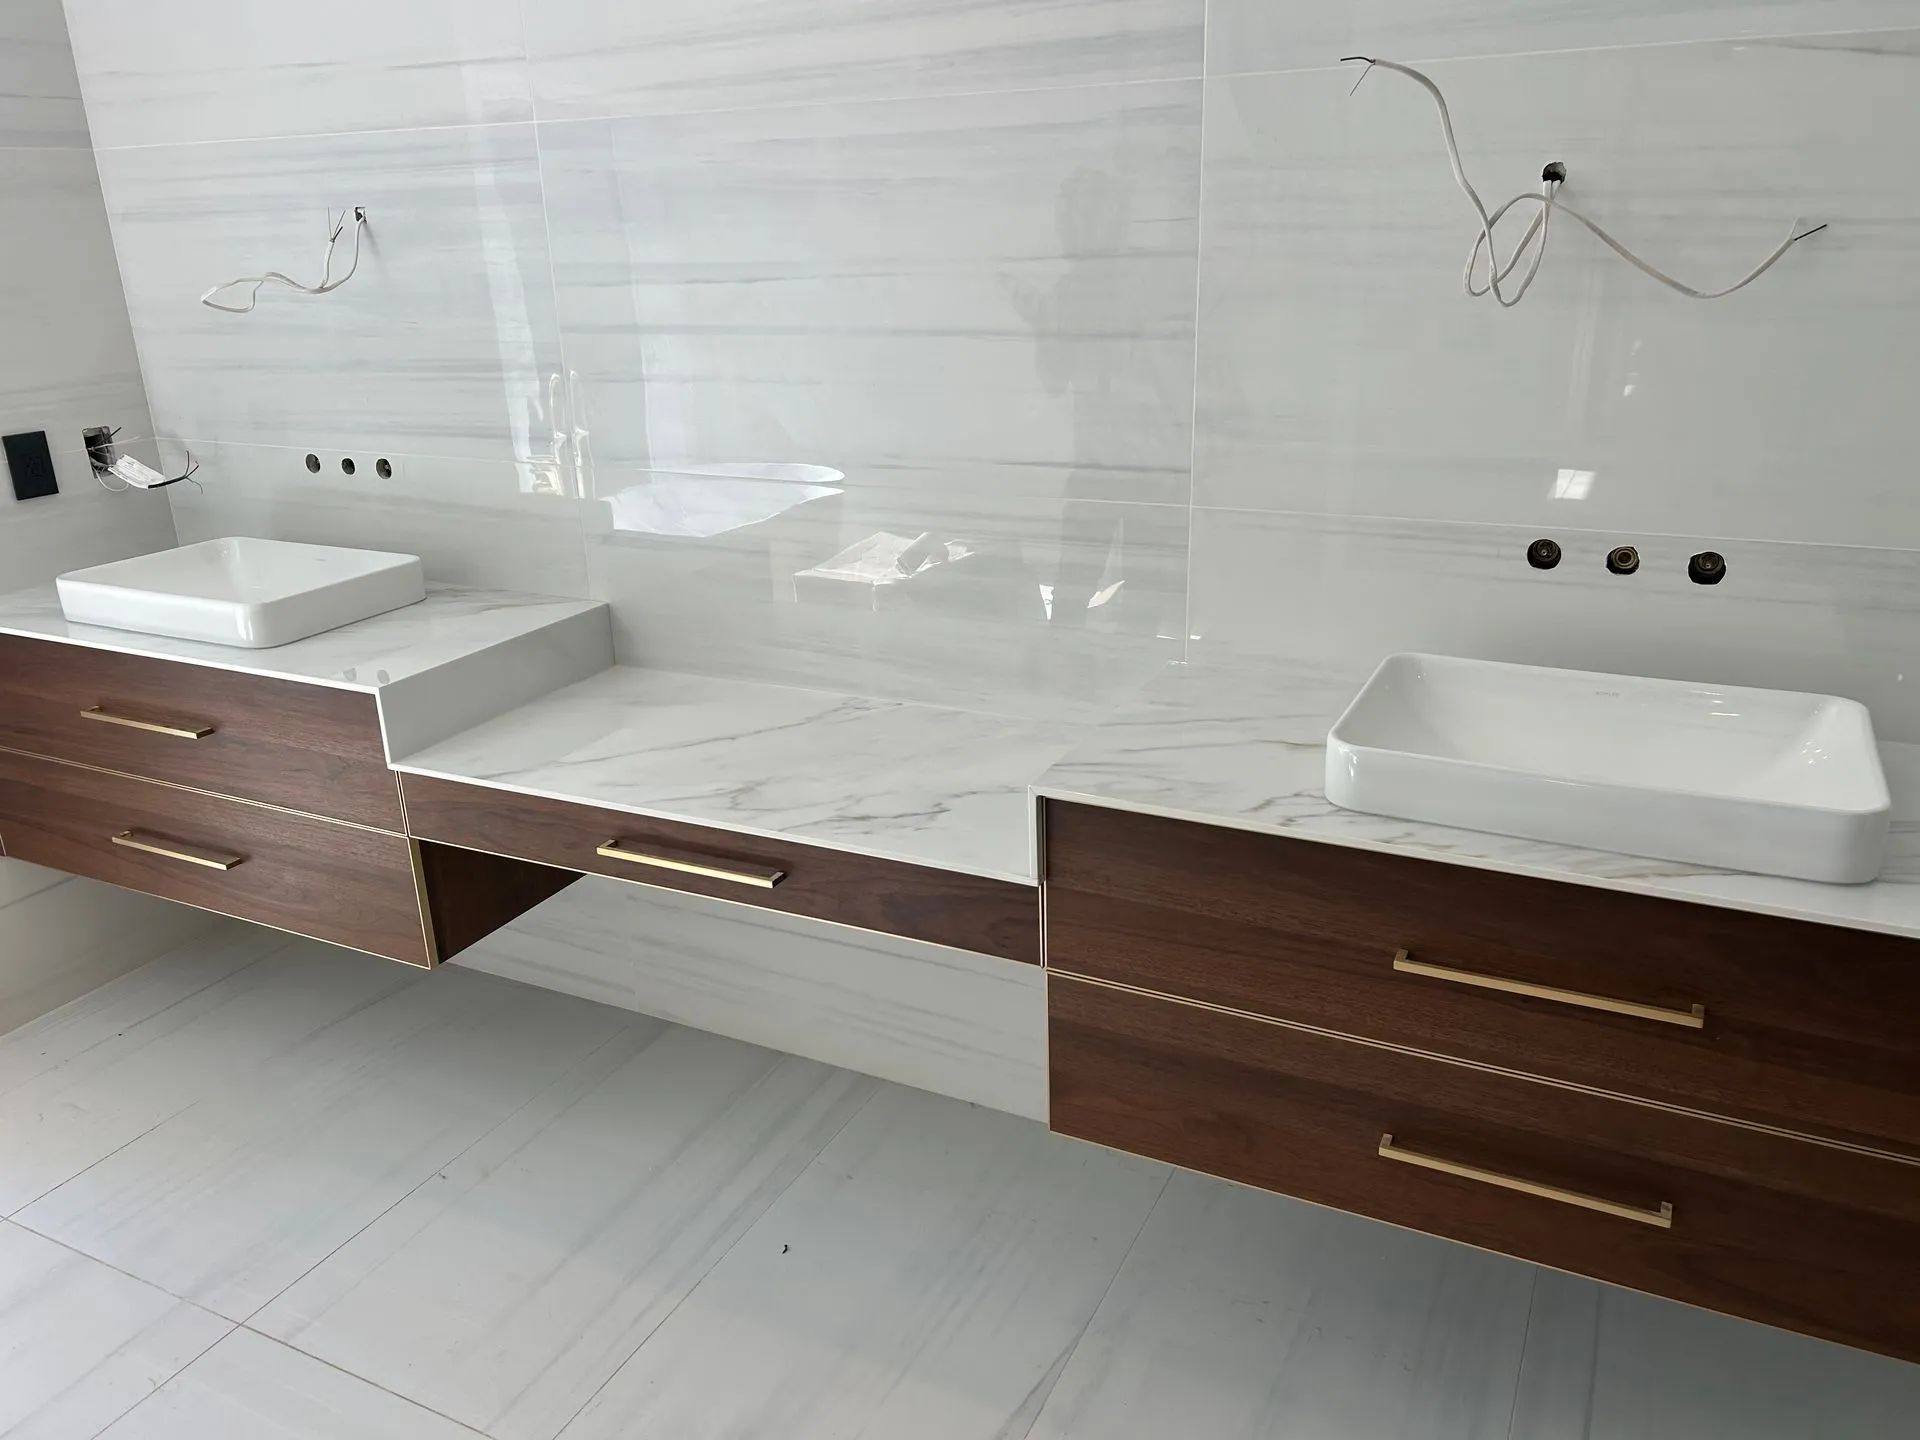
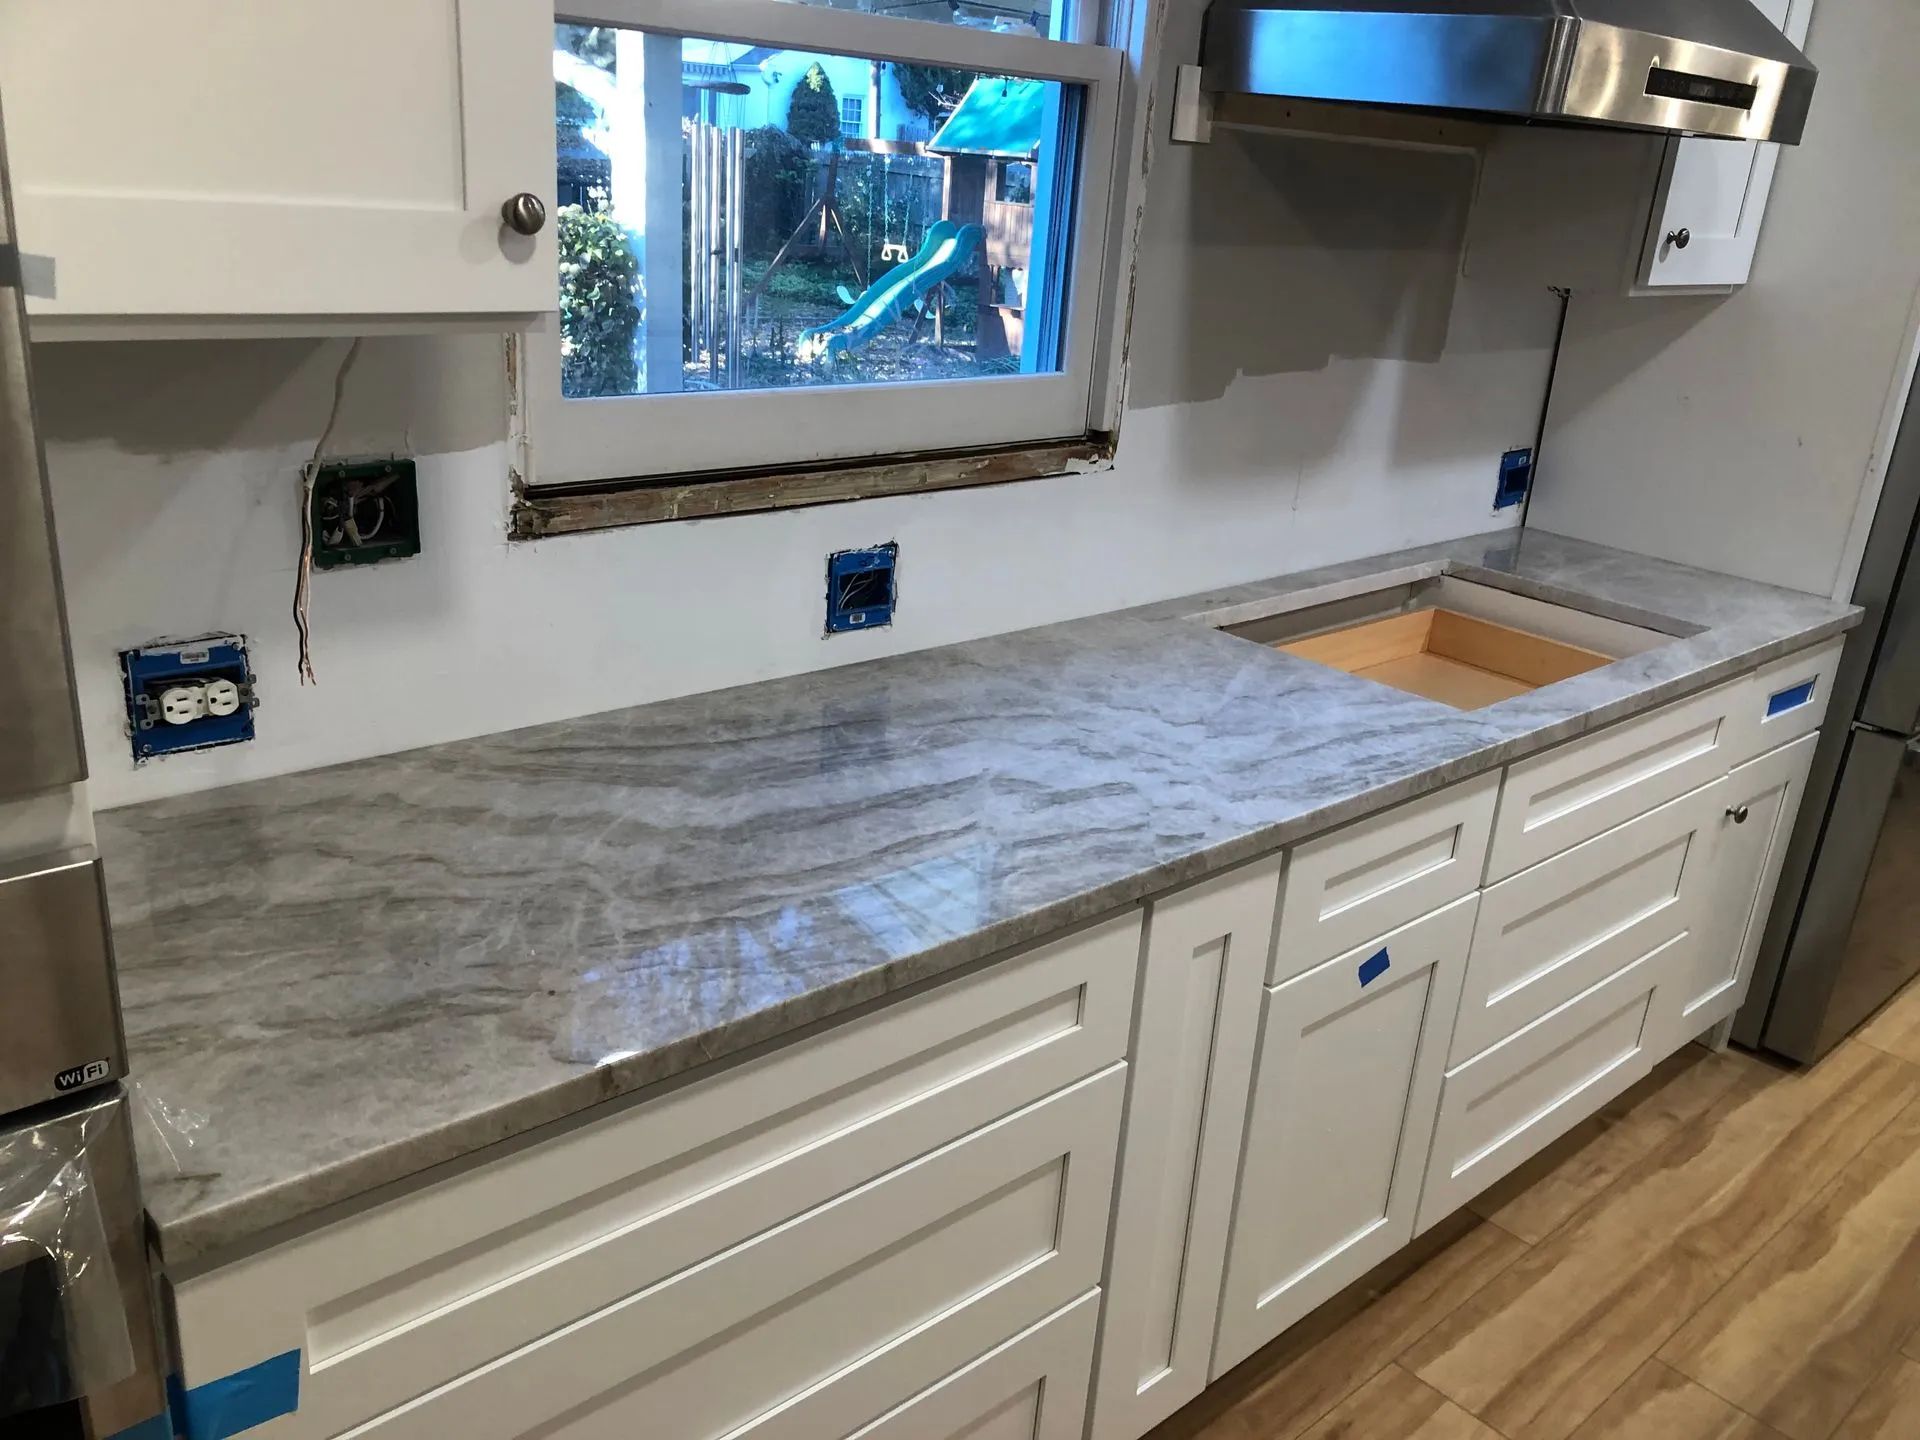
Once the structural boundaries are set, the next question is where the seam can go that a person walking through your kitchen won't immediately notice. The most reliable answer, and the one you'll see used constantly in real installations, is straight through the center of a sink cutout. The sink itself, along with its rim or clips, physically covers the middle section of the seam, leaving only a short stretch visible on either side of the basin. With a properly color-matched adhesive and a clean cut on both seam faces, those short visible sections are genuinely hard to spot unless you're looking for them from close range.
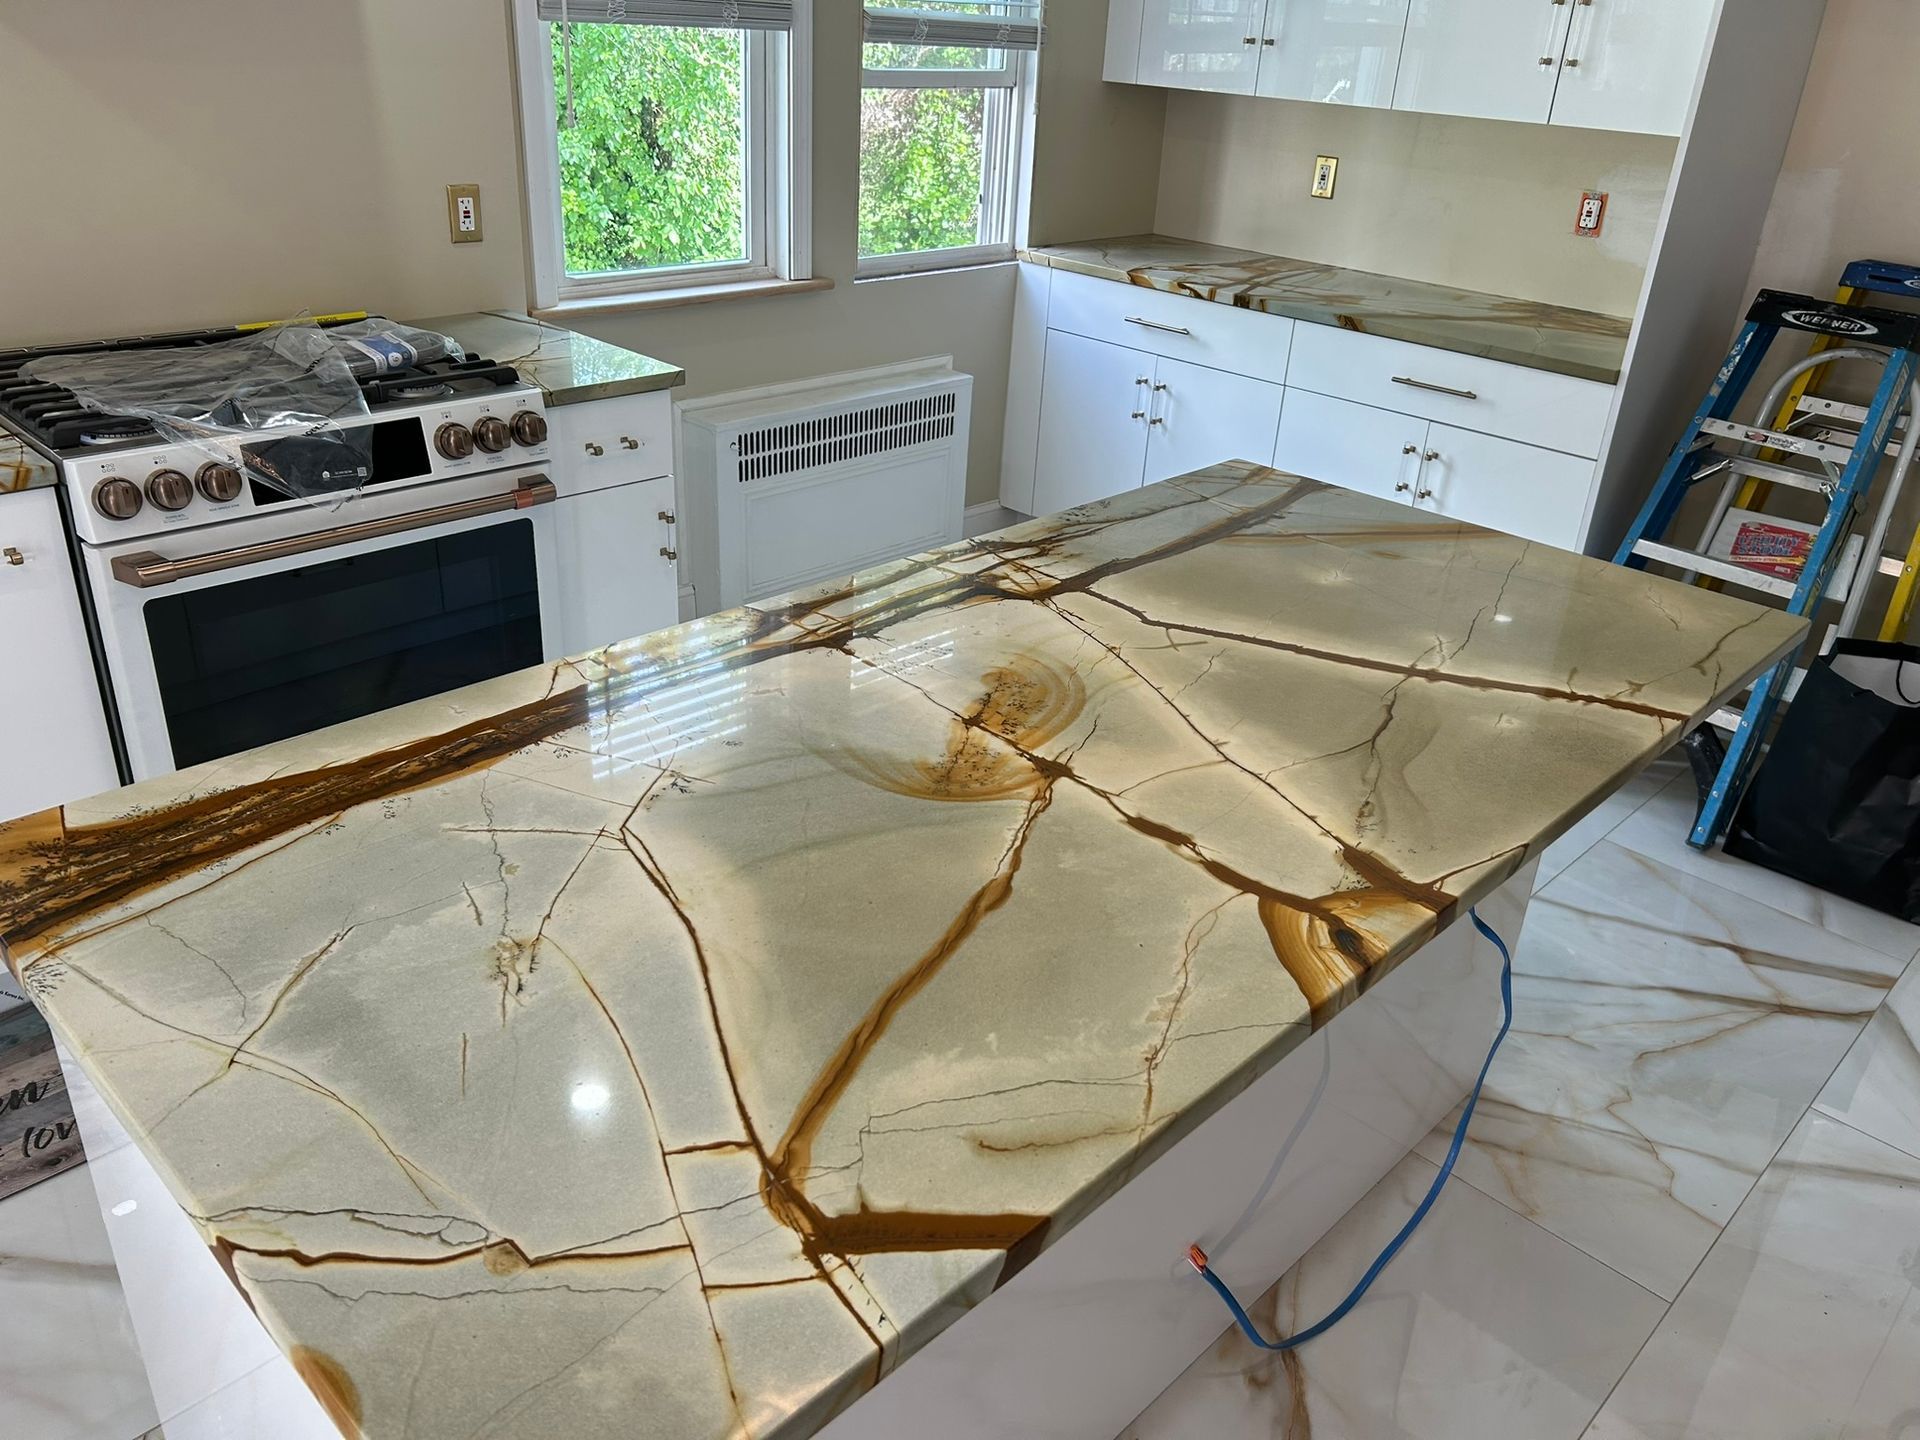
The second reliable hiding spot is a natural break in the stone's own pattern. Slabs with heavy veining, like many marbles and figured quartzites, have lines and color shifts running through them naturally. A skilled fabricator studies the actual slab, not just a photo of it, and looks for a vein or pattern break that runs roughly where the seam needs to land. When the seam follows that existing line, it reads as part of the stone's character instead of a foreign joint cutting across a clean field of color. This is one reason your fabricator may ask to see the physical slabs in person before finalizing layout, rather than working from a swatch or a digital rendering alone.
High-traffic sightlines matter too. On a kitchen island, the long face that's visible the moment you walk into the room is the zone most worth protecting from a seam if the slab math allows it. On a standard perimeter run, the section directly in front of where most cooking happens gets the most scrutiny over years of daily use, so fabricators try to keep that stretch joint-free and push any necessary joint toward a return counter or a wall-side section that sees less direct light and less direct attention.
What Happens at Templating
Seam planning isn't guesswork done at the saw. It happens during templating, the step where your fabricator measures your actual cabinets, walls, and openings, usually with a digital templating tool that captures every angle and dimension of the space. During that visit, the exact location of your sink, cooktop, and any support structure underneath the counter gets locked in. That data is what determines whether a seam can land through the sink, needs to shift toward a return, or has to be planned around an overhang that will need extra bracing. This is also the point where a good fabricator should walk you through where the seam will fall and why, ideally marking it on the template itself so there's a shared understanding before any stone gets cut.
Warning: Don't let seam placement get decided casually on installation day. Once slabs are cut, moving a seam means re-cutting from new material, which isn't always possible if the original slab is gone or the pattern can't be matched again. If your fabricator hasn't shown you where the seam will land before fabrication begins, ask for that conversation and get it in writing as part of your work order. It's a normal request, and it protects both you and the shop from a disagreement after the counter is already installed.
WARNING: Running cable inside a wall cavity near a firebox or chimney is not a spot to improvise. Heat, clearance, and the type of cable all matter for safety, and a wire tucked too close to the fire is a real risk. Have this part handled by a pro who knows how to route it correctly rather than snaking an extension cord up behind the stone.
Setting Realistic Expectations Before Installation Day
Even a seam placed and executed correctly will be visible under some lighting conditions, particularly low-angle light in the early morning or evening that exaggerates any texture or joint on a polished surface. Photos from magazines and renovation shows often make seams disappear through lighting and angles that don't reflect how your own kitchen will look at 7 a.m. with sun coming through an east-facing window. Ask to see real photos of seams in the same stone you're choosing, taken under ordinary daylight, not staged studio shots. A fabricator who has done this work in kitchens across the Philadelphia area for years should have plenty of examples to show you, including from older row homes where walls aren't perfectly square and the seam has to account for that too.
Is it safe to mount a TV over a fireplace?
Yes, with the right precautions. Heat off the firebox, wall structure, and viewing angle all need checking first. A gas or electric unit with managed heat can run for years. Wood-burning fireplaces with no heat plan cause trouble.
How far above the fireplace should the TV be mounted?
A common range is 8 to 12 inches between mantel top and screen bottom, though it shifts with your fireplace and wall height. The hotter the unit, the more clearance you want, keeping the screen above rising heat.
Can the heat from my fireplace really damage a TV?
It can, usually slowly. Most sets are rated up to 100-104 degrees, and unmanaged fireplace walls can climb past that. Over time this shows as dead pixels, a warped bezel, or shutdowns. Managing heat prevents it.
Do I need a special mount for a TV over a fireplace?
Most of the time, yes. A fixed mount aims the screen over your head. A tilting mount angles down toward viewers; full-motion arms pull out and down. The right choice depends on screen size and wall height.
Can I hide the wires if my fireplace is brick or stone?
It's harder than drywall but doable. Masonry rarely has an open cavity, so the path must be planned before mounting. Options range from in-wall routing to low-profile surface channels. Mapping the route first avoids disruptive retrofits.
Should the TV be bigger or smaller than the fireplace?
As a rule, match the firebox width or go slightly smaller, keeping the wall balanced. Oversized panels over narrow hearths are common now, but proportion makes the wall read as one clean focal point, not competing elements.
Frequently Asked Questions
Can I request no seam at all if my island is large?
Yes, if your island fits within the dimensions of a single slab. Larger islands may require seams, so your fabricator should compare the finished island measurements with available slab sizes before determining whether seamless installation is possible.
Does a seam weaken the countertop over time if it's placed correctly?
A properly positioned and installed seam should remain durable for many years. Problems typically occur when seams are placed near unsupported spans, corners, or other high-stress areas where countertop movement and repeated pressure can gradually affect the joint.
Will the seam line match my counter's color exactly?
Fabricators carefully color-match seam adhesive to the selected countertop material. Patterned and darker stones generally conceal joints effectively, while lighter or uniform surfaces may still reveal a subtle seam under bright daylight or certain viewing angles.
Can a seam be repositioned after the countertop is templated?
Seam placement can usually be adjusted before fabrication begins. Once the stone has been cut according to the approved template, repositioning a seam may require new material, making it important to review placement carefully before cutting starts.
Does a seam need to run in a straight line?
Most countertop seams are straight because straight cuts provide tighter connections and cleaner appearances. Angled or curved seams may be possible for certain custom layouts, but they require additional fabrication planning and are generally used only when necessary.
How many seams should a typical kitchen have?
The number of seams depends on countertop dimensions, kitchen layout, and available slab sizes. Smaller kitchens may require no seams, while larger kitchens with islands, corners, or long countertop runs may need multiple strategically positioned joints.
Thoughtful Seam Planning Makes Countertops Look Better
A countertop seam is a small detail that can have a lasting effect on both appearance and performance. Proper placement considers cabinet support, sink and appliance openings, slab dimensions, stone patterns, and everyday stress before fabrication begins. With 15 years of experience throughout Philadelphia, Pennsylvania, Ideal Stone Inc. understands how these factors work together, helping ensure seams are positioned where the countertop remains properly supported while keeping the finished joint as visually subtle as the chosen material allows.
The best seam placement balances structural requirements with the natural character of the stone rather than focusing on appearance alone. A carefully planned joint can follow veining, pass through an appropriate sink opening, or sit away from prominent sightlines while avoiding areas vulnerable to movement and stress. When seam locations are established during templating and coordinated with the actual slab layout, the finished countertop feels cohesive and intentional, allowing the material, craftsmanship, and overall kitchen design to remain the primary focus.